Scenario 2 - Battle for the Second Hall
The second scenario introduces the main protagonists of the campaign - Balin, Lord of Moria and Durburz the Goblin King. This scenario forms the first of the pitched battles, pitching the majority of each side's forces against each other. Balin and his vanguard have been busily hewing goblins, and now find themselves standing almost alone against the bulk of the Goblin army, waiting for their own reinforcements to catch up.Forces
Good
Balin
2 Dwarf Captains with shields
6 Khazad Guard
8 Dwarf Warriors with shields*
8 Dwarf Warriors with bows*
3 Dwarf Warriors with two-handed axes
1 Dwarf Warrior with banner
* I had to make a slight adjustment to the forces, adding in two Warriors with bows and two Warriors with shields in exchange for an additional Banner Bearer, due to not being able to get the model ready in time.
Evil
Durburz, the Goblin King
Moria Goblin Shaman
2 Cave Trolls with troll chains
8 Moria Goblins with shields
8 Moria Goblins with spears
8 Moria Goblins with bows
2 Bat Swarms
Deployment
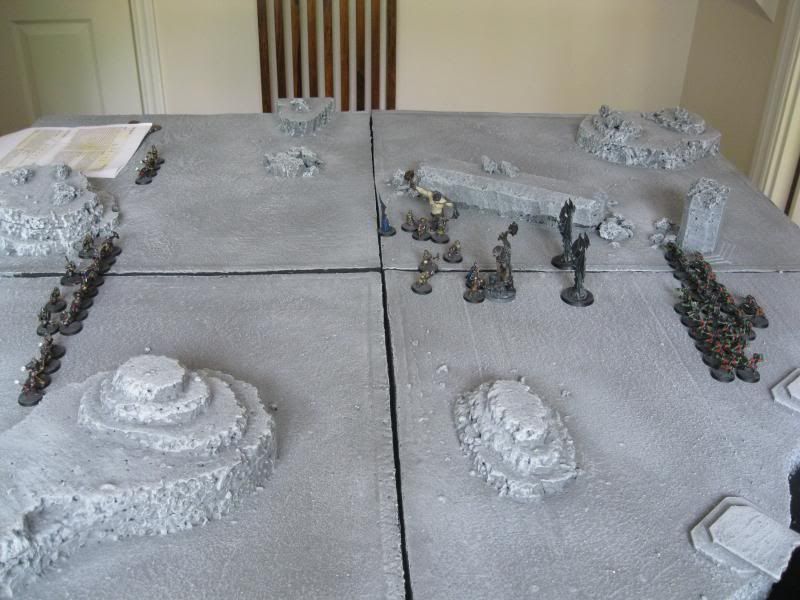
First, Balin and up to twelve additional Good models had to set up within 6" of the board centre. The remainder of the Good force were set up within 3" of the northern board edge. The Evil player begins by deploying the two Cave Trolls within 6" of Balin (note: not within 6" of the centre, within 6" of Balin himself) and then the remaining Evil forces are set up within 3" of the southern board edge.
 |
| The white central circle denotes where Balin and his group may deploy. The red ring is not wholly accurate, as the Cave Trolls are deployed depending on the exact position of Balin himself, but gives an idea of the possible position. The white and red areas at the top and bottom of the board denote the main Good and Evil deployment zones, respectively. |
Special Rules
Stygian Gloom
Due to the reduced visibility, models may not shoot at targets more than 12" away. However, because it is harder to avoid a shot in the dark, all Shooting attacks receive a +1 bonus on the roll to wound.
Victory
The winner is the side that reduces their opponent to 25% strength or less. If both sides achieve this in the same turn, the result is a Draw. If Balin is slain, the best result the Good side can achieve is a Draw, and likewise for the Evil side if Durburz is slain.
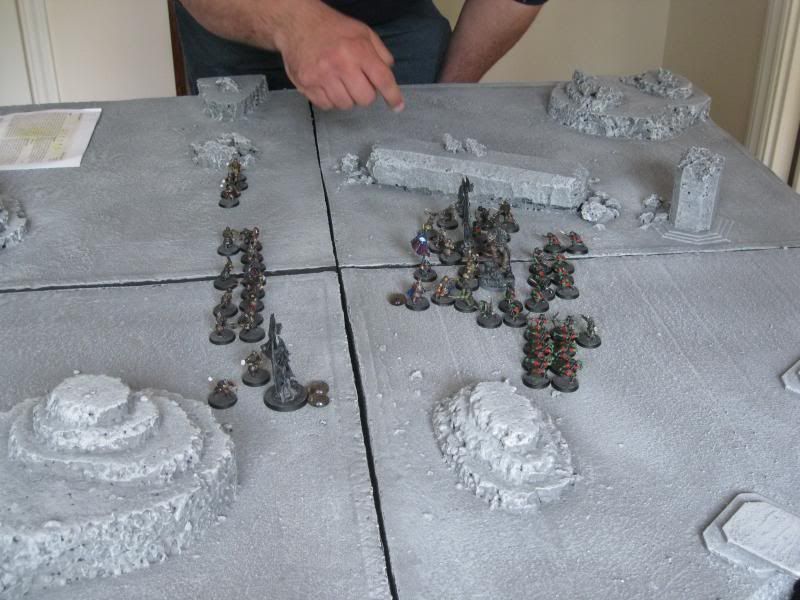
With another non-standard deployment, Gary had a few decisions to make - where to place Balin, and who to choose to accompany him in the centre of the board. In the end, Gary decided to deploy Balin in the very centre of the board, and chose to accompany him with all of the Khazad Guard as well as the Banner Bearer and one of the Captains, which he deployed in a roughly circular cordon around Balin (not knowing where the Trolls would be placed, Gary couldn't afford to leave an avenue unguarded). The rest of the Good force was deployed as close as it could possibly get, with the bowmen out on the flanks and the Dwarf combat warriors packed into the centre ready to pile into the action.
In response, Paul placed by Trolls on his own side of the table (i.e. further away from the mass of Gary's Dwarfs), on either side of the Dwarf cordon (imagine 4 o'clock and 8 o'clock, with Balin being 12 o'clock). The rest of the Goblin forces were deployed in a huge phalanx, ignoring the flanks altogether and with the Bat Swarms placed to swoop into the Trolls' combat at the earliest opportunity.
The game began with the Dwarves taking an aggressive approach and deciding to take the Trolls on head-on, with Balin and two Khazad Guard charging one and another Khazad Guard and the Captain charging the other. The rest of the Dwarves advanced as fast as their little legs could carry them. In response the Goblins did the same, with the Bat Swarms swooping close to the combat and ready to intervene in the second turn.
 |
| The first turn begins with the Trolls getting into the thick of things immediately. |
 |
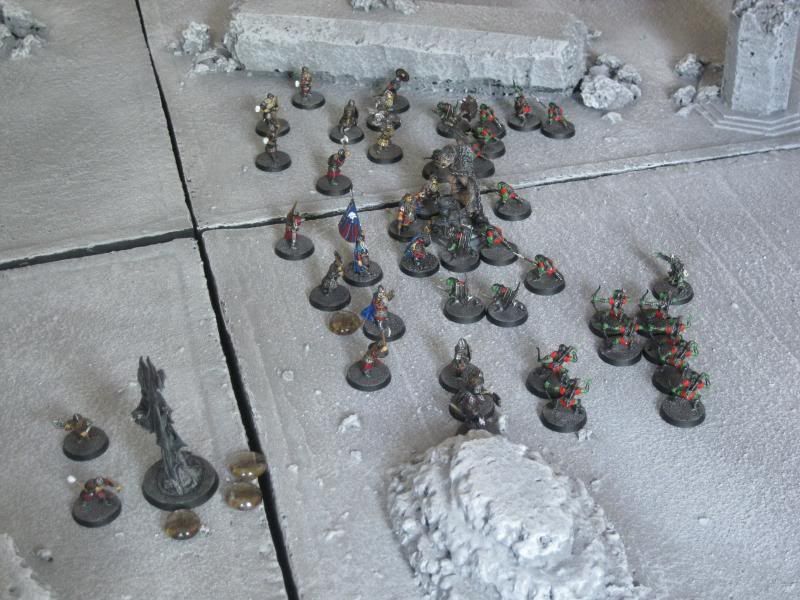
| The fighting thickens as the Goblins and Dwarfs approach |
 |
| The Goblins press the attack while the main Dwarf battleline is still a couple of moves away. |
 |
| With Durburz down and the main Dwarf force arriving, the pressure is on the Goblins... |
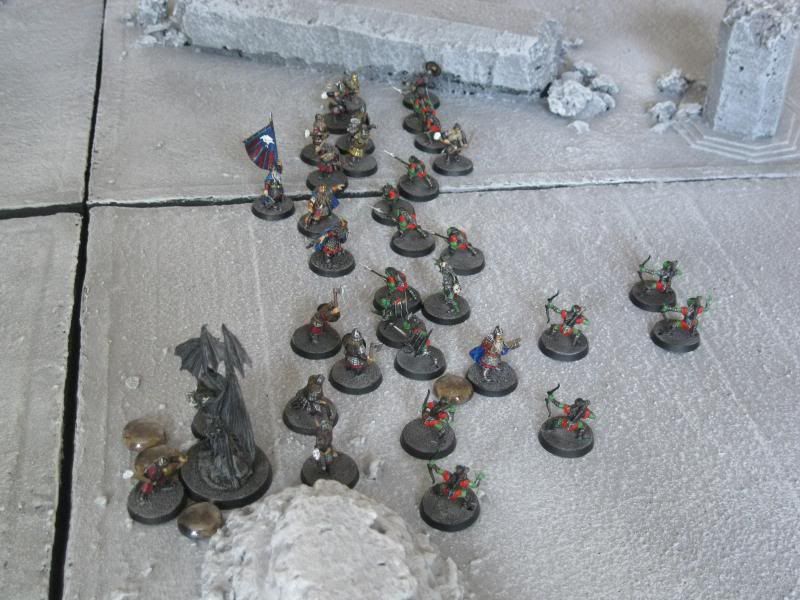 |
| The demise of the Goblin forces is soon to come... |
So the score is now 2-0 to the Dwarves, as the game played out the same as in the first scenario albeit on a larger scale. The Goblins failed to take advantage of their early opportunities, Durburz was carelessly exposed to the best fighter on the Good side (indeed, one of the best fighters in the whole LotR game!) and the debilitating effect of the Bat Swarms wasn't utilised to it's best effect (they have the potential to completely cripple elite fighters like Dwarves) as Paul chose to send them off to chase the Dwarf bowmen, who realistically never formed a threat.
So could Paul begin to turn things around in Game 3? Stay tuned to find out!
No comments:
Post a Comment