Here's a few photos from mine and Gary's game of Dead Man's Hand from a couple of weeks ago. I was going to write some sort of battle report but I've left it too long and the details are now too hazy for me to remember much about what happened. They say a picture says a thousand words though, so I've got roughly the equivalent of a dissertation here!
The Dead Man's Hand rulebook includes several sets of three linked scenario mini-campaigns, each building up to the third and final climatic shootout. Typically, it wasn't until myself and Gary started this third scenario that I remembered I'd taken my camera along, and started taking photos. Maybe I should take that as a sign - the first two scenarios, where I wasn't taking photos, I won; this one, with plenty of photos, I was well and truly beaten!
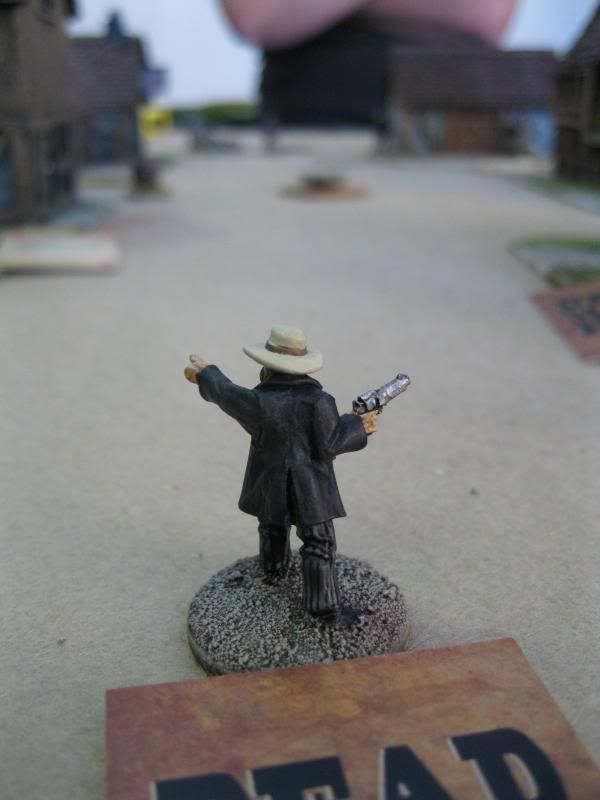 |
| The Marshall points the boys in the right direction |
 |
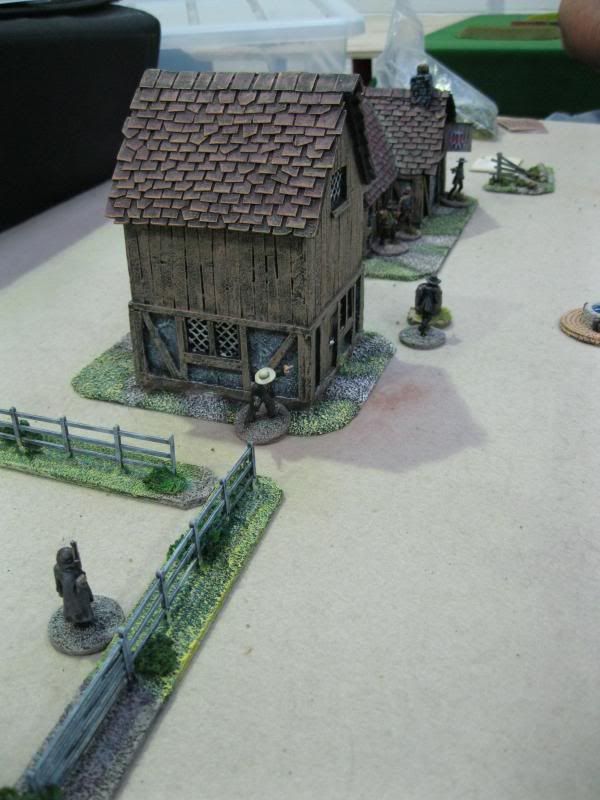
The opposing gangs at either end of the street; note the element of time travel, where the contents of a
17th Century European village have been mystically transported to Arizona |
 |
| Gary's gang of Outlaws take up position opposing the Lawmen |
 |
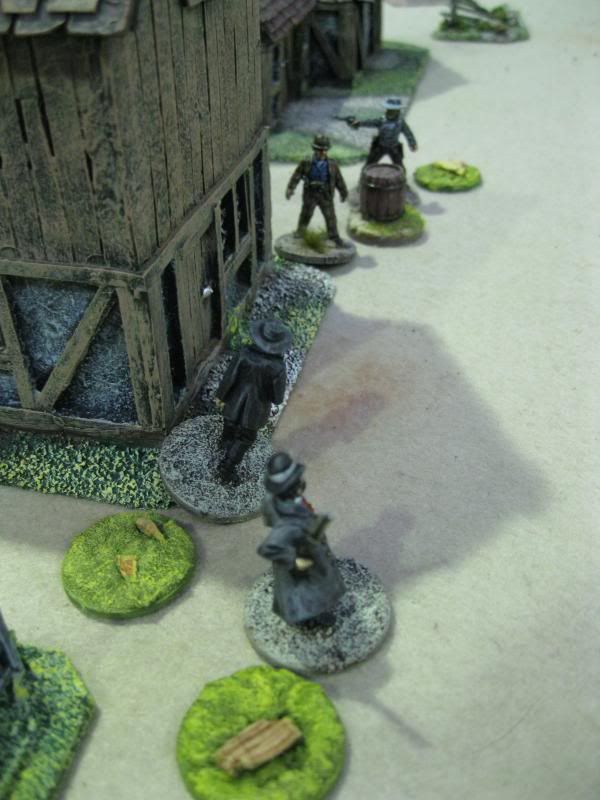
| Peeking round the corner of the building! |
 |
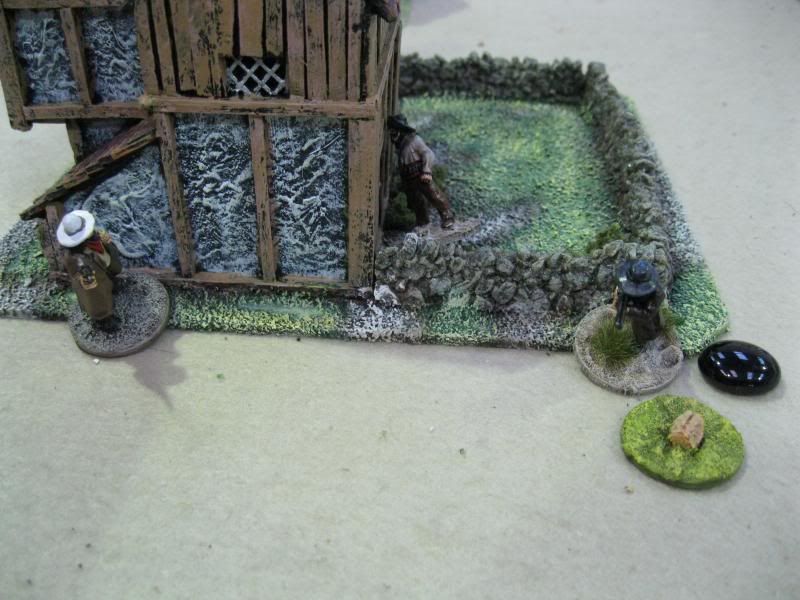
| The Sheriff gets outflanked |
 |
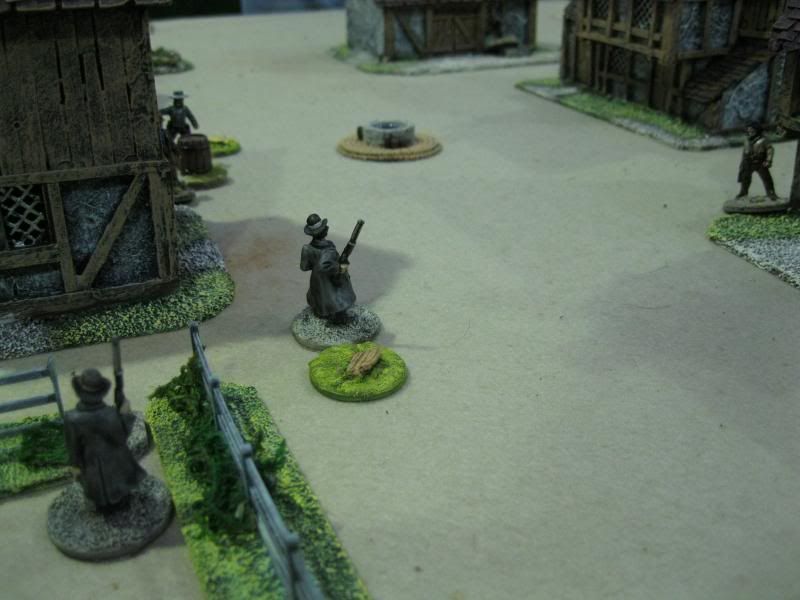
| The deserted centre of town - because everyone's ducking for cover! |
 |
| The Lawmen boldly (foolishly) take the fight to the Outlaws |
 |
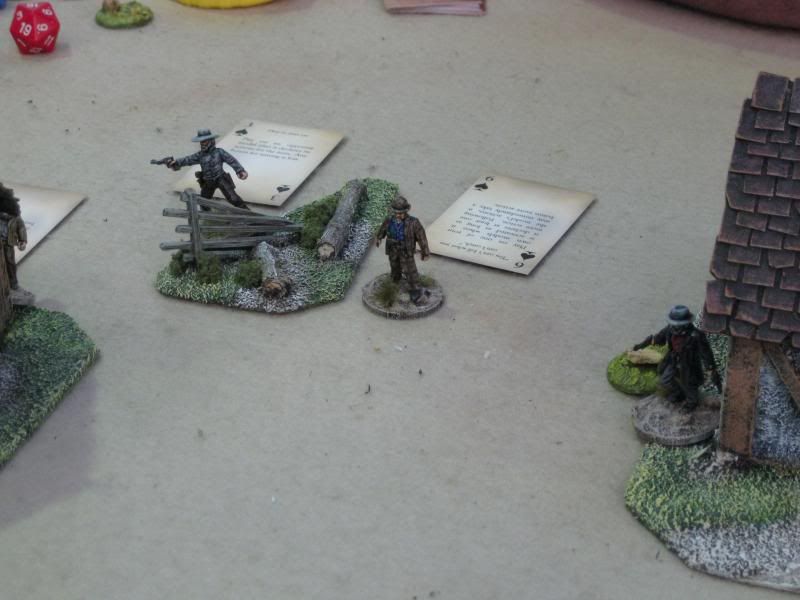
| Gary's outlaws get the drop on the deputy |
 |
| Outflanked and outgunned, and with a '2' for his Initiative, this deputy isn't long for the world... |
In the end, I suffered an embarrassing defeat in the final scenario, with all but two of my Lawmen falling foul of the Outlaws (Gary managed to score three outright kills in this game!) Losing aside though, it was great fun once again - fast paced and furious, with bullets flying left, right and centre. What's not to like?! As Paul has yet to play a game with his own gang, I expect we'll be playing several more games of Dead Man's Hand over the next few weeks. Maybe I'll remember to take photos of them!

No comments:
Post a Comment