Tuesday 25 June 2013

The Ents March to War

It's been a long time since I've done any work on my Wood Elf army. Up until I started Skaven with the release of the Island of Blood box a couple of years ago, they were pretty much my only army as they were the only figures I took to Liverpool with me when I moved to university (at the time, 2006, they were still relatively new and powerful!) I have a decent collection of figures for them - all the figures from the current range were painted and playable, but I also had a bunch of 5th Edition figures from when I started collecting them. Even though I painted all the current range figures that I have, the actual collecting of the army stalled while I was at uni (with figure money being wholly requisitioned as beer money!) and so I never did collect everything that I wanted.

Even though I've been playing Wood Elves since the beginning of 6th Edition, 8th Edition has affected the Wood Elf army so drastically (more so than most other armies) that it's now essentially a completely different animal to what I was used to in 6th and 7th Edition. 8th Edition is still rather unfamiliar to me and I've played it so little that I'm basically back to Beginner level all over again. With Wood Elves creeping back onto my gaming radar, and with the advice I've been given as a result of recent games I've played, I'm now looking at revisiting my Wood Elves - the majority were painted several years ago (they're not my best and some aren't even painted at all) and since then I've seen so many brilliant examples of Wood Elf armies that mine are no longer really acceptable. I don't claim to be a brilliant painter, but I can do a much better job of them and as my favourite army, they deserve better! 

With my enthusiasm for my Wood Elves now rising again, it would be nice to update them with a fresh paintjob and some more figures to round out the collection. I've wanted to do an "alternative" colour scheme for a while, inspired by examples on Asrai.org, and really want a Winter themed army (in the end I plumped for painting the figures as a fairly standard green Summer army, but the thought of Winter Wood Elves was always in my mind).

The task of repainting my existing figures is still being debated (whether I change the colour scheme, simply improve on the existing colour scheme, or just leave the models completely as they are) but in the meantime, the new list I want to use requires that I build some more models - specifically, Treekin. 

I'm not a great fan of the GW models, so I made three of my own Treekin back when I first started playing Wood Elves in earnest through 7th Edition:

My three existing Treekin

Nowadays, in the cut and thrust of 8th Edition, three Treekin doesn't do the job so it's time to build three more!

Treekin in various states of completion
As you can see, the right hand model is essentially complete;
the centre and left hand models are still only armatures.

The new Treekin in the right of the above pictures has been half-built for at least a couple of years now, and has been sat languishing in a drawer along with my half-built Treeman. The two armatures accompanying the Treekin above have been put together over the last 24 hours or so, and I'll begin sculpting work on them during the rest of the week.

Even though he's not required in the list I intend to try out in my next game, I figured that while I was building Treekin I'd try and complete the half-built Treeman as well. This is the one big omission from my Wood Elf collection (everyone should have a Treeman, yet I don't...) so it was about time I finished him. With the chunks of Green Stuff I've had left over from putting the Treekin armatures together, I've made a bit of progress with the sculpting of the Treeman today and Sunday evening. His feet are a bit spindly and weedy-looking so I'm now in the process of adding small armatures to construct roots around, to give him "toes" and support the weight of the immense tree body!
Battle for the Pass

Myself and Paul headed down to Stafford Games last week to get another game of Warhammer in - I took my Wood Elves and Paul turned up with his Vampires (he keeps saying how much he wants to use his High Elves with the latest book, and yet turns down every opportunity to use them in favour of taking his horrible Vampires, which he knows I can't beat!)

My list was as follows:

Spellweaver (Lore of Life) ~ 350pts
- Lv.4, Wand of Wych Elm, Talisman of Preservation (4+ Ward)

Noble ~ 140pts
- BSB, Armour of Silvered Steel, Luckstone

Eternal Guard (20) ~ 295pts
- Warbanner, Full Command

Glade Guard (20) ~ 268pts
- Standard Bearer, Musician, Banner of Eternal Flame

Glade Guard (10) ~ 126pts
- Musician

Glade Guard (10) ~ 126pts
- Musician

Dryads (8) ~ 98pts

Glade Riders (5) ~ 129pts
- Musician

Wild Riders (5) ~ 148pts
- Musician, Standard Bearer

Wild Riders (5) ~ 148pts
- Musician, Standard Bearer

Waywatchers (5) ~ 120pts

Great Eagle ~ 50pts

Total = 1998pts

Paul (from memory) had:

Master Necromancer
Master Necromancer
Vampire
Wight King
Wight King
Wight King
Corpse Cart
20 Zombies
24 Ghouls
20 Skeletons
20 Skeletons
20 Grave Guard
3 Vargheists
Varghulf


Anyway, we rolled Battle for the Pass and so the first advantage was given to Paul - with the width of the table effectively halved, it would be that much harder for me to outmanoeuvre him and skirt around the flanks. His big blocks of infantry, combined with the terrain, meant he could effectively block the entire table width. The second advantage was given to him by me, as I chose ends and (in hindsight) picked wrongly. The third advantage was also conceded by me by allowing Paul to take the first turn!

Deployment from the Vampire end
The bulk of the Wood Elf deployment
Paul took the first turn and simply advanced as far as he could, with the Vargheists flying at double speed to outflank my line of archers. Magic saw the bulk of the infantry blocks boosted as Paul resurrected the long dead skeletons that can conveniently be found on every Vampire battlefield!

Vampire T1
 I responded by rapidly repositioning my army to face off against the Vampires, with the Eagle providing bait for the Ghouls, in preparation for a combined countercharge from the Wild Riders and Glade Riders. Magic was a damp squib, and shooting achieved very little as well.
Wood Elf T1

Paul's second turn began with two charges, one forced and the other willingly. The Vargheists failed their Frenzy test and had to charge the Dryads blocking them, while the Great Eagle fled the Ghouls' charge, leaving the undead stranded in front of my cavalry. Once again, the undead units were substantially increased, with Paul getting very good rolls for his resurrecting, and he even managed to raise a new Skeleton unit right in front of my archers. The Vargheists made short work of the Dryads due to my inability to make any To Wound rolls, and the Forest Spirits fled only to be run down in a single bound by the Vampiric flyers.

Vampire T2 Movement
Turn 2 for the Wood Elves started with three charges - the Wild Riders and Glade Riders smashed into the Ghouls, while the other Wild Riders moved into the flank of the Vargheists. Magic managed to kill 15 of the closest Skeleton unit with Dwellers Below, while Flesh to Stone failed to boost the Toughness of the Wild Riders facing the Vargheists. It took two units of Glade Guard to shoot away the raised Skeleton unit, which left very few arrows to target anything else. In combat, the Wild Riders facing the Vargheists managed to kill the one Vargheist in contact (the Elven Steeds doing most of the work!) for only one loss in return. The combat resolution managed to finish off the rest of the unit. Meanwhile, the combat with the Ghouls didn't go quite so well - my attacks managed to kill eight Ghouls, but the "Stepping Up" caused chaos with 15 return attacks against the Wild Riders and six against the Glade Riders. Cue one dead unit of Wild Riders, and only two surviving Glade Riders (although they passed their Break test)


Wood Elf T2
Vampires T3
The view from the bowline

It was at this point that I stopped taking pictures, as the battle was coming to a close and we were running out of time. We played to the end of Turn 4, although not a lot else happened except that some Skeletons were shot, more Skeletons were raised, and the advancing Undead got gradually closer. The result wasn't much, with just over 200 points difference in VPs (I had lost the Dryads, the Glade Riders and Wild Riders, Paul had lost only the Vargheists) but if we had carried on for even one more turn I'd have lost a lot more.


In the end, the game could have gone very differently if I hadn't effectively conceded the game from the beginning - I picked the wrong end to deploy in, and I gave the first turn away. My Waywatchers achieved nothing except keeping the Varghulf busy, but if I'd have taken the first turn I had a perfect opportunity to take out at least one of Paul's Master Necromancers before he had chance to move away or counter the Waywatchers. That alone could have changed the course of the game, combined with the added advantage of having a turn of dedicated shooting at Paul's units at their basic size. The other big advantage of taking the first turn was that I could have moved the Dryads into the Vargheists' LoS, possibly forcing them to charge, but allowing the Dryads to remain in the wood (and thus become Stubborn). I knew from our previous game (which I didn't write a blog post about) that Dryads in a wood could easily hold up and eventually even defeat Paul's Vargheists, and yet I conceded this advantage as well by allowing Paul to dictate my moves. 

Just to top everything off, I also forgot all about my Vanguard moves - having three Fast Cavalry units capable of making a Vanguard move, this could have drastically altered Paul's opening moves and even (if I'd have taken the first turn) allowed me to change the course of the whole game, as my cavalry would have then had more than enough movement to get behind the Vampire battle line in the first turn, potentially, and cause all sorts of problems for Paul. 

Anyway, with another defeat under my belt, I turned to the collective wisdom of Asrai.org to help improve the army list and for general tips against Vampires (because they are really my bogey army!) I'll be trying out a new list for our next game, but in order to use it I need to build a few figures to add to the army!

Sunday 16 June 2013

Assault on the Eastgate

Time to get started on that backlog of blog posts then!

If you've read the blog of late, you'll no doubt have noticed that my focus recently has been almost exclusively Lord of the Rings, and Moria in particular. The aim was to produce a set of terrain (and the necessary figures) to allow me to run a mini-campaign telling the tale of Balin's attempted reclamation of Khazad-dûm. 

Well, a couple of weekends ago, I reached a stage where the games could begin so I got Paul and Gary together to get the campaign started! We started bright and early (drinks and bacon butties were provided) and Gary and Paul rolled off to decide who would take command of which side. Gary won the roll off and plumped for the Dwarves, leaving Paul to take command of the Moria Goblins.


Scenario 1 - Assault on the Eastgate


The first scenario involves the Dwarf vanguard attempting to gain a beachhead in the caverns of Moria, to open the way for the main force under Balin's command. 

The game was played on a 2'x4' board (using two of the modular boards I've built), with one of the long edges forming the Walls of Moria with the Eastgate itself located in the very centre of the long edge. 

Forces

Good
Dwarf Captain with shield
6 Dwarf Warriors with shields
6 Dwarf Warriors with bows
3 Dwarf Warriors with two-handed weapons

Evil
8 Moria Goblins with shields
8 Moria Goblins with spears
8 Moria Goblins with bows
2 Bat Swarms

Deployment

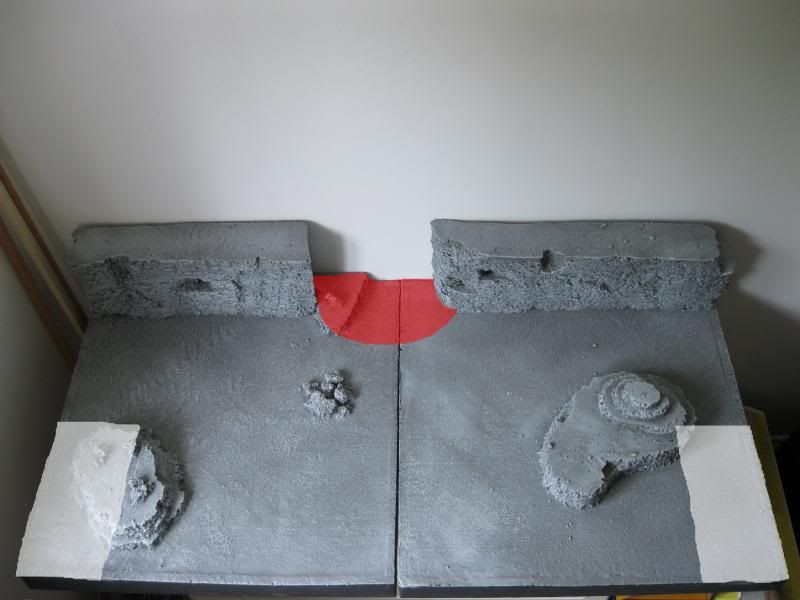
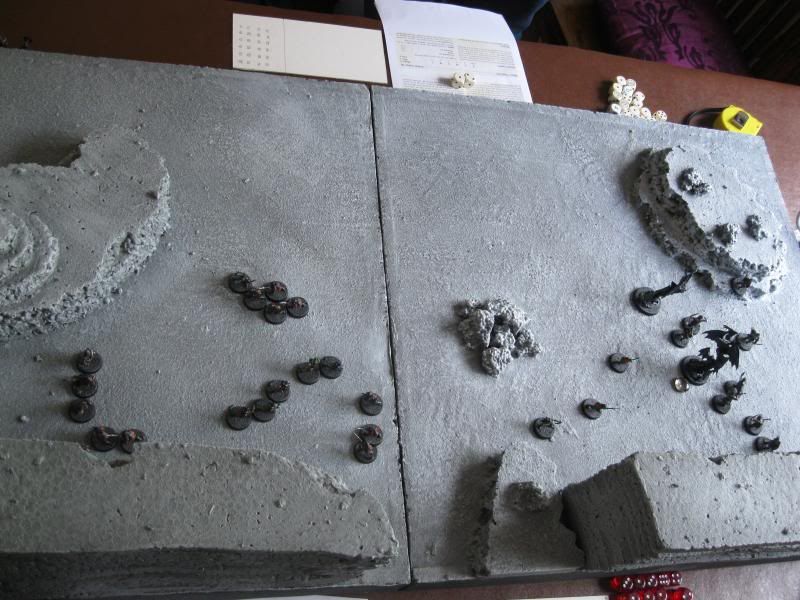
First, the Dwarves had to split their forces into two equal-sized groups (8 Dwarves in each). One group was then deployed in the north-eastern corner of the board, up to 12" in and 6" deep, as shown on the map below. The second group then deployed in a similar position in the south-eastern corner of the board. Once the Dwarves were deployed, the entire Goblin force deployed within 6" of the Eastgate. Gary split his Dwarves so that the Captain and seven of the non-bow armed Dwarves deployed on the north corner, while the Dwarves with bows and the remainder of the non-bow armed Dwarves deployed to take advantage of the heights in the south corner. Paul established a perimeter with his Goblins; shields at the front, supported by spears, bows in the space behind with the Bat Swarms ready to fly over everyone.


The white boxes show the Dwarf deployment zones;
the red semi-circle is the Goblin deployment area


Special Rules

Unstable Footing
Any Jump or Climb tests taken by any model (except Moria Goblins) suffers an additional -1 dice modifier


~ ~ ~ 
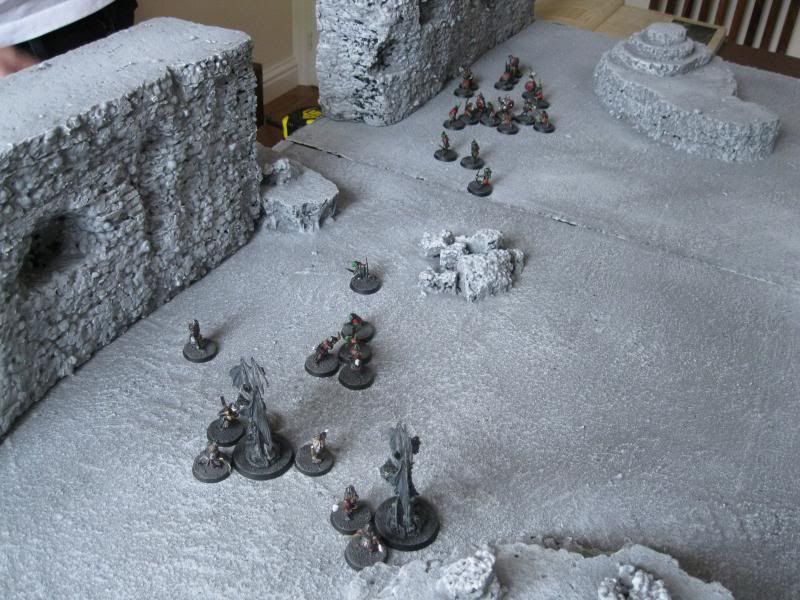
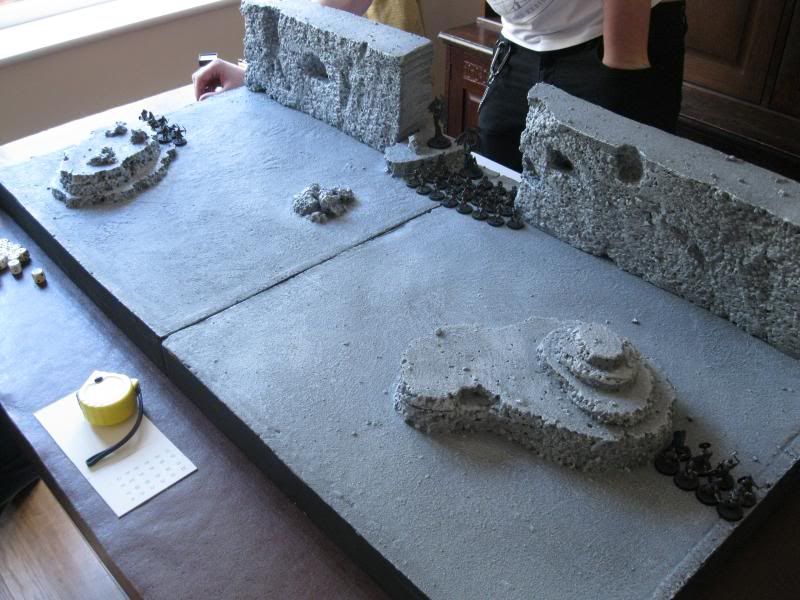
Deployment - it looks like a tough task for the Dwarves to break through the Goblin cordon.

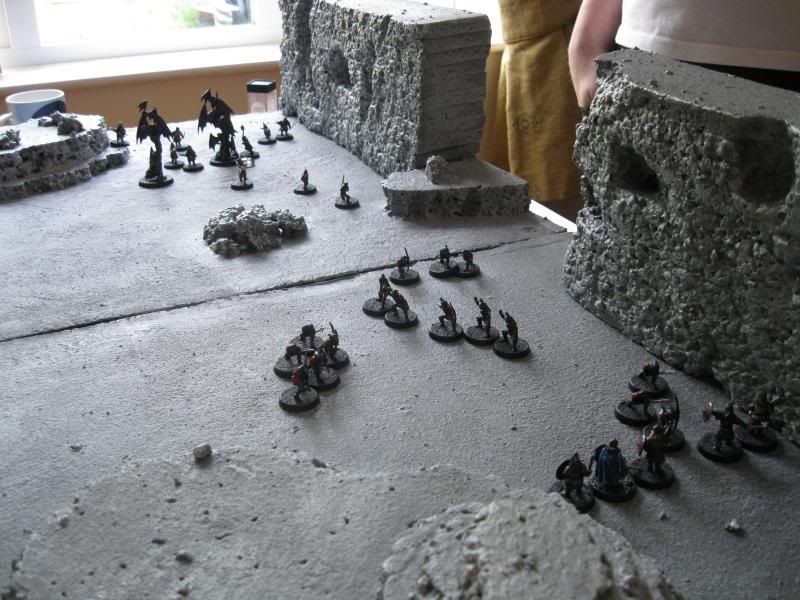
As per normal, the game started with the Good side getting priority. Gary's Dwarves mostly advanced as far as they could, with the bow-armed Dwarves taking up position along the edge of the plateau in order to launch shots against the Goblins. Paul split his forces, with the majority of his models heading north to take on the Dwarf Captain while the remainder went south accompanied by the Bat Swarms.


An odd angle to demonstrate the disposition of both sides. 

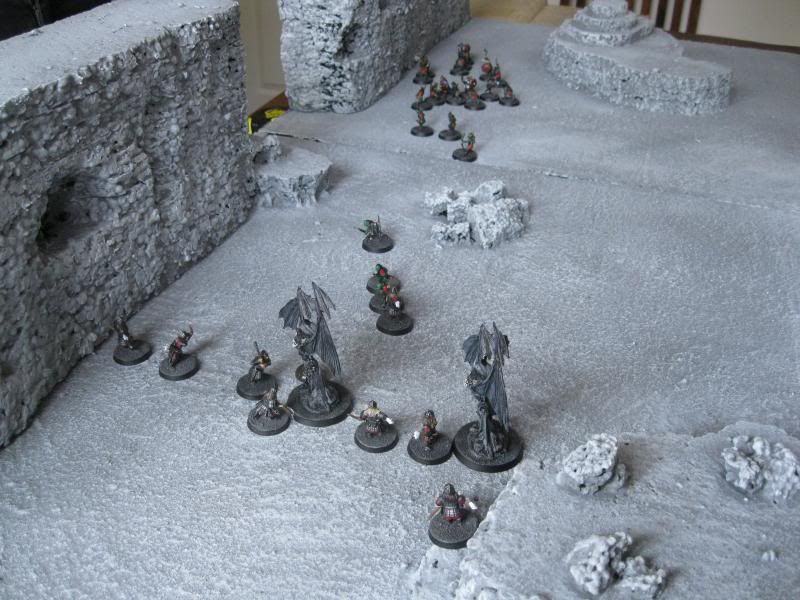
The fighting was quickly joined, with Paul initially gaining the upper hand as his Goblin archers scored several unlikely wounds. 
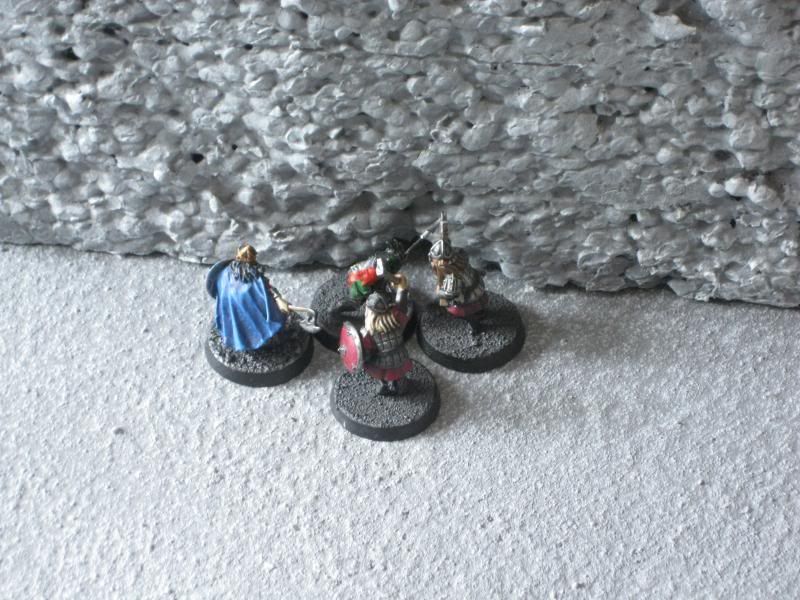
 The Dwarves from the north (left) make a stand in the narrow gap between the
plateau and the Walls to prevent the Goblins from surrounding them.

Meanwhile, the Bat Swarms make a nuisance of themselves but are
unable to make much headway without support from any Goblins.
Eventually though, the Goblin numbers began to dwindle as the Dwarves managed to avoid being ganged up on and arranged several one-on-one fights, which they inevitably won (although it took them some time to slay their enemies - Gary would have made much quicker progress if his dice-rolling was any good!)

The Goblin numbers dwindle, the Dwarves press their advantage
and soon the result is a forgone conclusion
With the Goblin numbers dwindling each turn, it wasn't long before Paul's force was broken and the inevitable failed Courage tests came along (with only Courage 2 and no Heroes to support the warriors, the Goblins were never going to stick around for long once broken). 
The final combat - the Dwarf Captain and two of his warriors close in on the sole remaining Goblin, easily slaying him and ensuring a wipe-out for Gary!


So the first scenario turned out to be a solid victory for Gary, and the Dwarves managed to secure their way into Moria. This initial scenario would prove to demonstrate several recurring traits for the games to come - Gary can't roll To Wound dice for toffee, and Paul's Goblin archers are lethal! 

More to come soon!

There Will Be Blood

Here's a few photos from mine and Gary's game of Dead Man's Hand from a couple of weeks ago. I was going to write some sort of battle report but I've left it too long and the details are now too hazy for me to remember much about what happened. They say a picture says a thousand words though, so I've got roughly the equivalent of a dissertation here! 

The Dead Man's Hand rulebook includes several sets of three linked scenario mini-campaigns, each building up to the third and final climatic shootout. Typically, it wasn't until myself and Gary started this third scenario that I remembered I'd taken my camera along, and started taking photos. Maybe I should take that as a sign - the first two scenarios, where I wasn't taking photos, I won; this one, with plenty of photos, I was well and truly beaten!


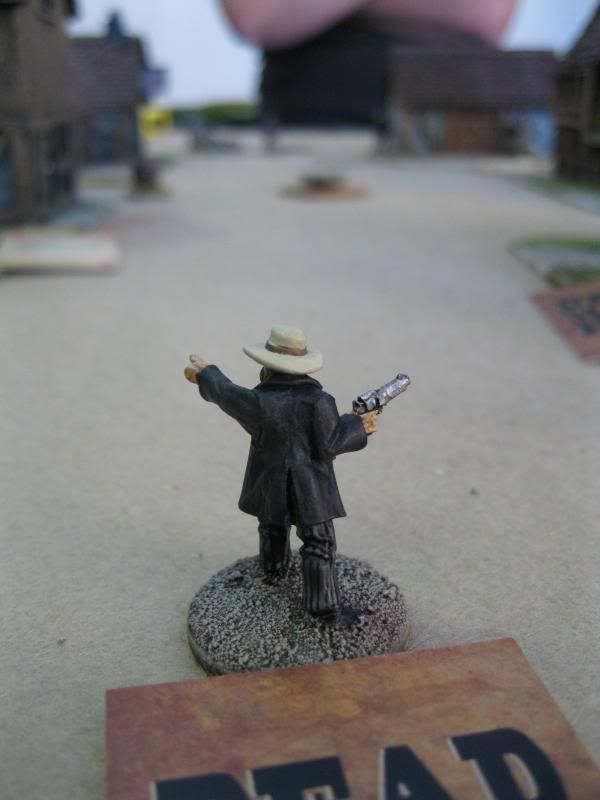
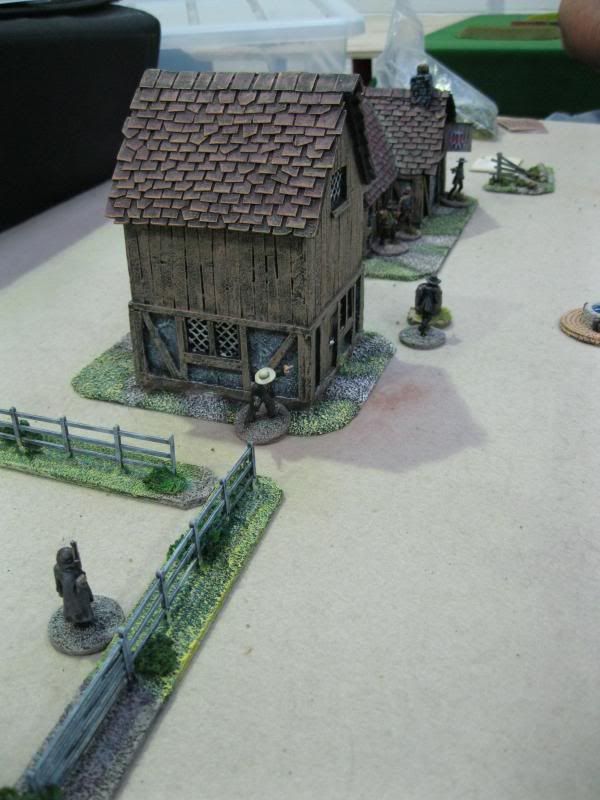
The Marshall points the boys in the right direction

The opposing gangs at either end of the street; note the element of time travel, where the contents of a
17th Century European village have been mystically transported to Arizona

Gary's gang of Outlaws take up position opposing the Lawmen

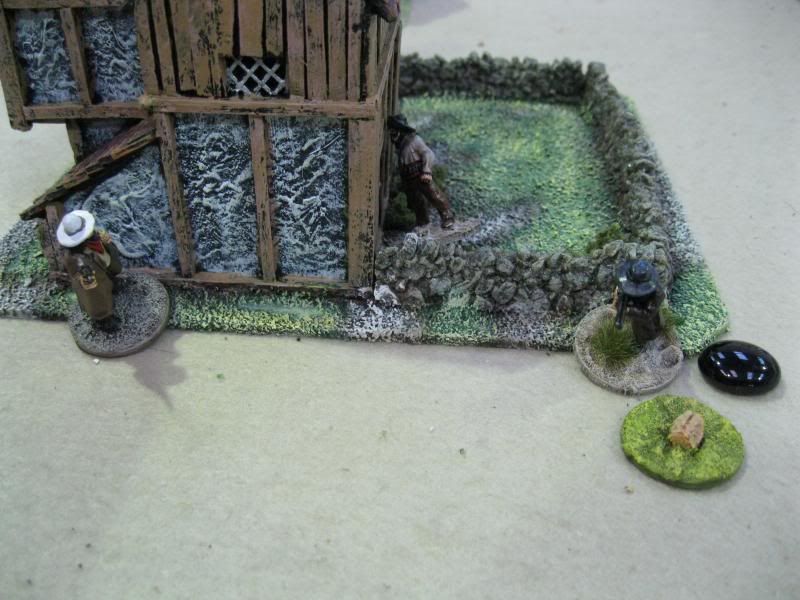
Peeking round the corner of the building!

The Sheriff gets outflanked


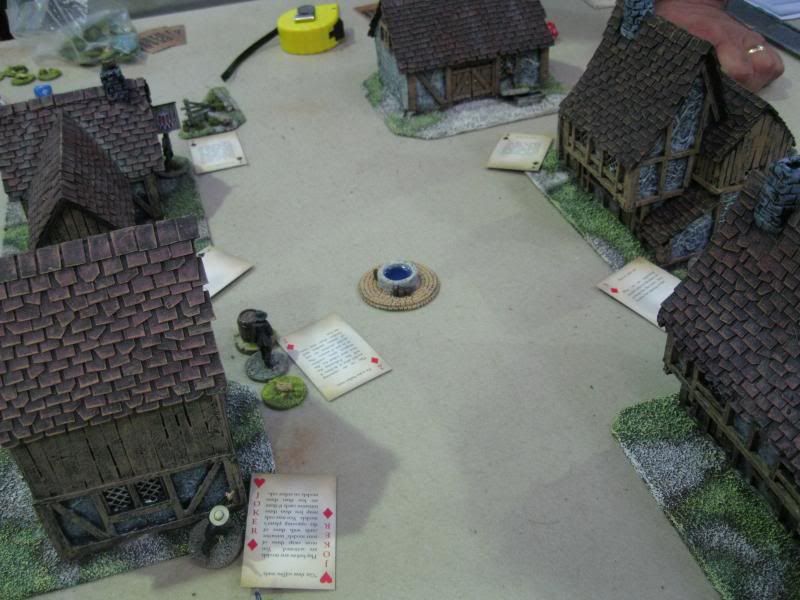
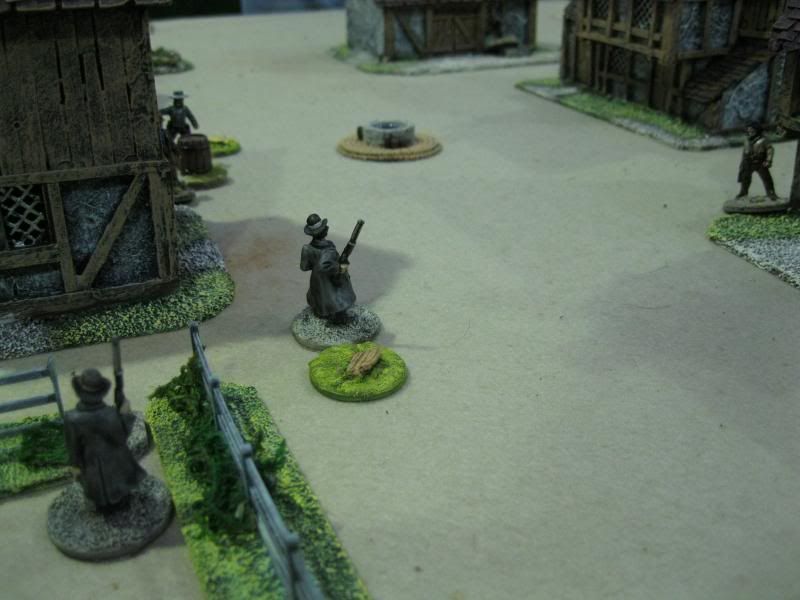
The deserted centre of town - because everyone's ducking for cover!

The Lawmen boldly (foolishly) take the fight to the Outlaws

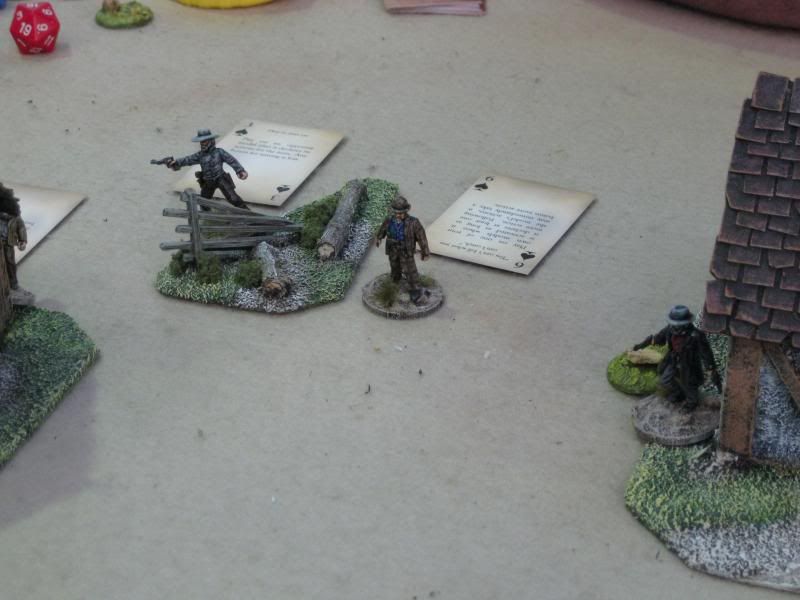
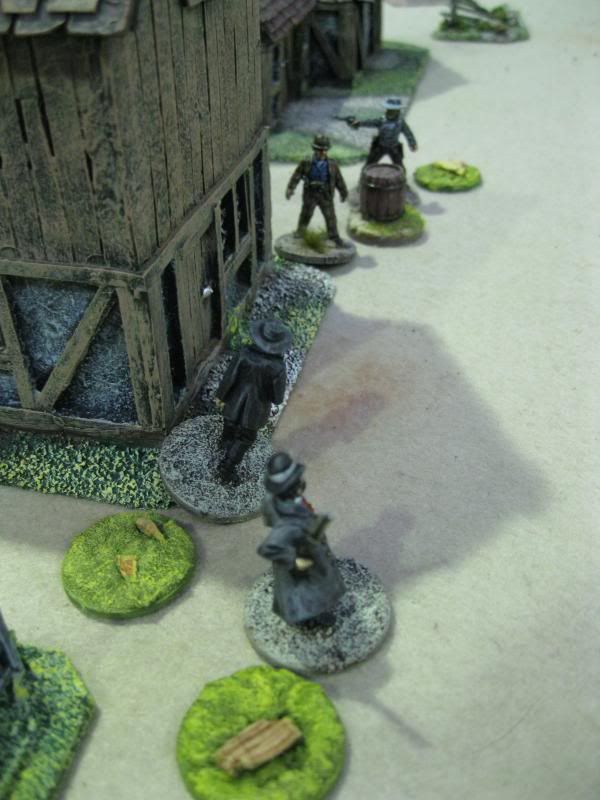
Gary's outlaws get the drop on the deputy

Outflanked and outgunned, and with a '2' for his Initiative, this deputy isn't long for the world...


In the end, I suffered an embarrassing defeat in the final scenario, with all but two of my Lawmen falling foul of the Outlaws (Gary managed to score three outright kills in this game!) Losing aside though, it was great fun once again - fast paced and furious, with bullets flying left, right and centre. What's not to like?! As Paul has yet to play a game with his own gang, I expect we'll be playing several more games of Dead Man's Hand over the next few weeks. Maybe I'll remember to take photos of them!

Monday 10 June 2013

A Trip to the Old West

I mentioned in my Partizan post that we've been playing Dead Man's Hand recently, and that I had wanted to pick up a gang of my own at the show last week. There are four "official" gangs available from Great Escape Games specifically for Dead Man's Hand, but Gary had already bought (and painted) all four sets by the time Partizan rolled around. While they are very nice and characterful figures, I didn't want a duplicate set as my own gang, so I had a look at some alternative figures for use in Dead Man's Hand. Artizan Designs do some very nice Old West figure sets, and luckily for me there were several retailers at Partizan who were selling these sets. So, here follows a quick look at those figures I bought, and managed to get painted in time for last Thursday's game of Dead Man's Hand...


The whole gang - DMH uses a "Rep" (or Reputation) value as a points system for the game,
and all the official sets consist of 7 models with an overall worth of 21 Rep
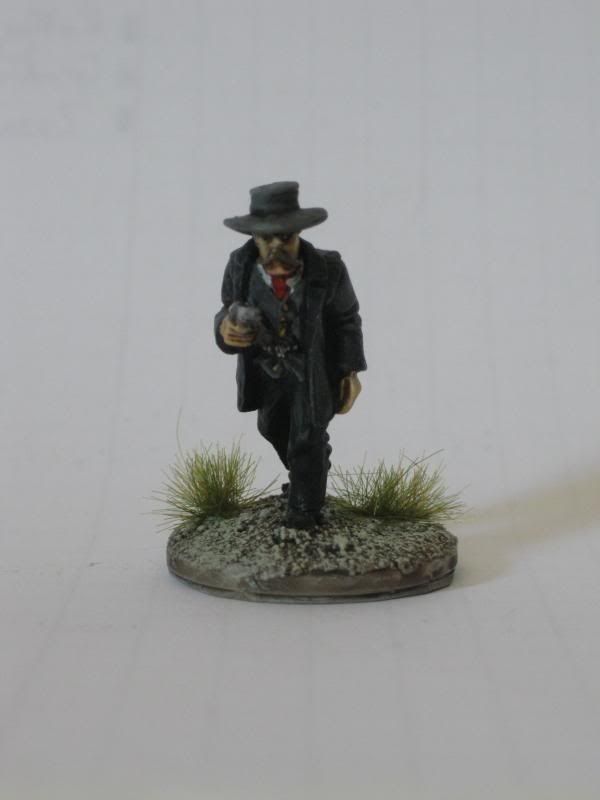
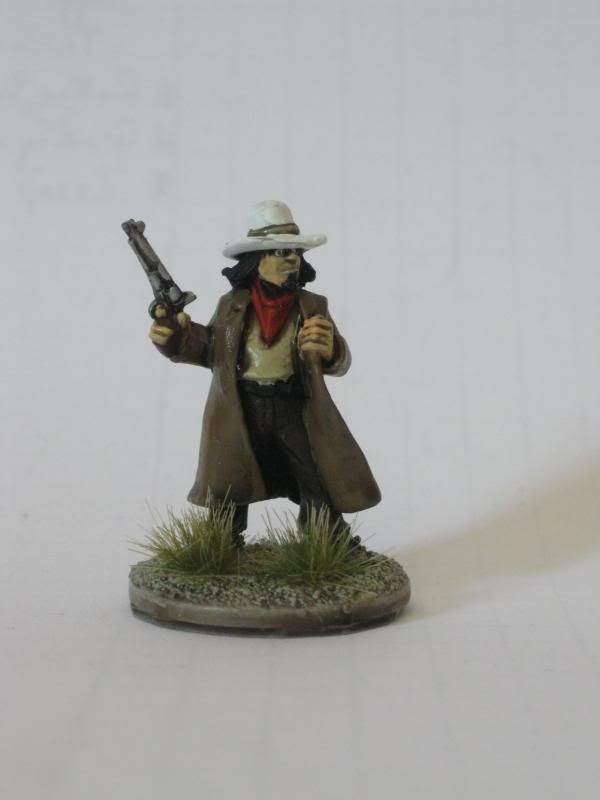
First up, the Sheriff. Officially, the figure is one of the Earp
brothers, but I'll come up with my own names eventually
The Deputy Marshall - another Earp model
And the final Earp brother
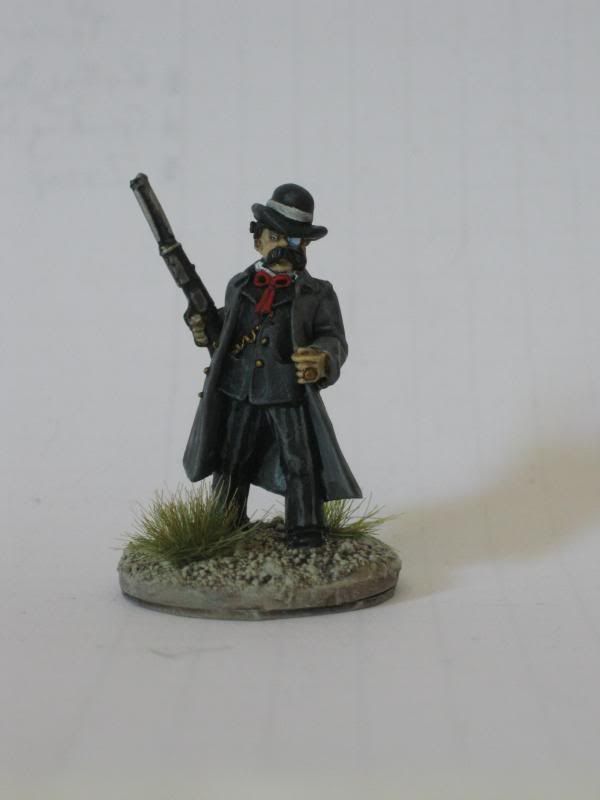
The first of the Pinkertons, armed with a rifle. 
Another Pinkerton, again with rifle
And the final Pinkerton
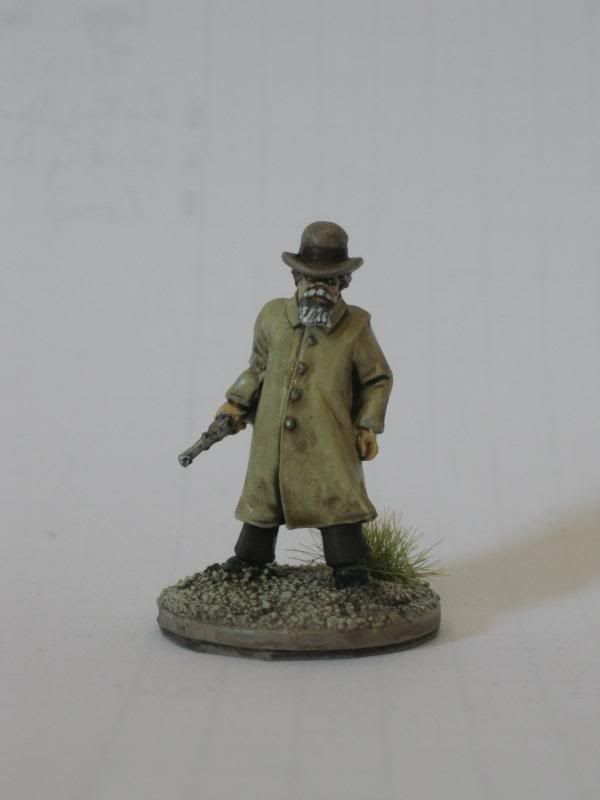
The only non-Artizan figure in the gang, this chap is actually from Foundry. Although
the model is a bit chunkier than the Artizan figures, he doesn't stand out too much

So there you have it - the Lawmen ready to deal out tough justice and hot lead to all those varmints and critters plaguing the Old West. I had originally wanted to focus the gang entirely around the Pinkertons (Artizan make two different sets) but I could only find the one variant pack unfortunately. That meant the Earps stepped in at the last minute to provide the additional lawmen I needed. The Foundry figure isn't really a Lawman (he's technically a cowboy) but he's suitably generic-looking to be included. The only downside of making a gang up this way is the lack of any shotgun-armed figures. Each of the official gangs has one model with shotgun, and they are horribly brutal in game (provided they don't get shot up first) so I'll need to find a suitable model at some point so as not to leave myself at a disadvantage! 

Tuesday 4 June 2013

A Trip to Partizan!

Sunday 2nd June was the occasion of the 27th Partizan, held at Kelham Hall near Newark. It's a show I'd never been to before (because Newark always seemed so far away) but this year I decided to make the effort and hop on the A38 (and the A617) to get there. I roped Gary in to go along with me, as it had been several years since he'd been to Partizan as well, and even better he offered to drive, which saved me from the Sunday drivers!

So what was it like?

Well, having never been before I can't compare it to past Partizans, but compared to the other shows I regularly attend this one ranks up there as a pretty decent day out. Kelham Hall itself is a lovely looking building, which makes a change from the usual sports hall. There were plenty of traders, several of whom don't normally make the jaunt to our neck of the woods, and lots of games on display (more on those in a minute). The downsides of being at Kelham Hall is the relative lack of space - there are plenty of rooms available, but as those rooms were not designed to accommodate several hundred wargamers (including some fairly sizeable ones...) plus trade stands and display games, it can get more than a little crowded and cramped once all the punters are in (a lot more than usual at wargames shows anyway!). Luckily, myself and Gary were pretty close to the front of the queue so we were afforded a bit of time to browse with freedom of movement. The other downside was that the combination of smaller rooms with more people packed in, big stained glass windows and blazing sunshine outside (for once!) meant that it got pretty warm pretty quickly inside, which is uncomfortable at the best of times but proves even more so when some of our more "fragrant" brethren show up!

But all that aside, it was an enjoyable day out and (for me at least) worth taking the trip. I grabbed a few photos of some of the more interesting games that caught my eye, but without much room to manoeuvre it wasn't practical to get shots of every game at times.

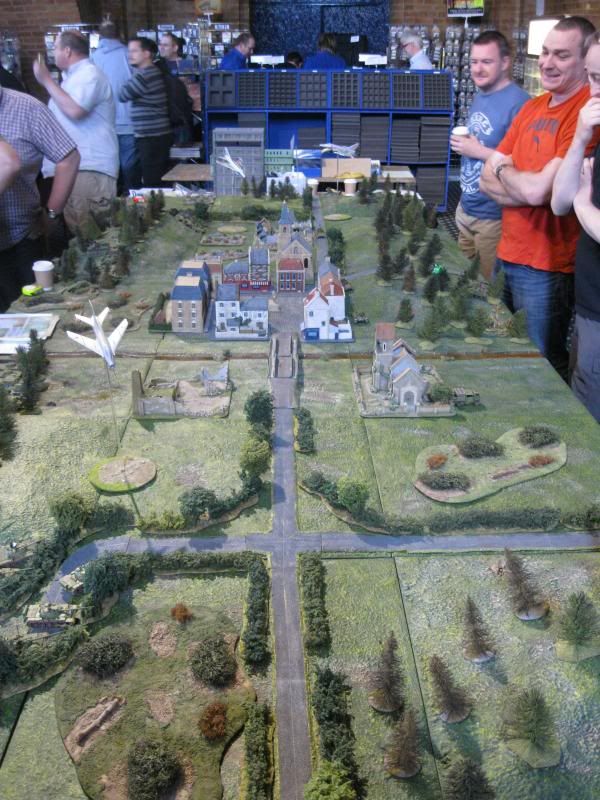
The Battle of Raphia, hosted by Simon Miller aka "BigRedBat" and friends.
You can see more pics at the BigRedBatCave

Guy Bowers and the WSS team ran this Samurai skirmish participation game.
I was asked to join in, but had to decline
Bramley Barn Wargamers put on a nice looking Cold War game, which I stood and chatted to them about
for a bit. I've no interest in the Cold War, but their terrain was nice and they were a friendly bunch...
...unlike the "Like A Stonewall" club who, as always, ignored everyone (or at least they did while I was there) and seemed to regard the public as an inconvenience interrupting their game (which was The Fetterman Fight of 1866, by the way)
A nice, straightforward Very British Civil War game

I'm not sure what this game was, but it was Lincoln Miniature Warfare Society at any rate!
Possibly my favourite game of the day, this was a Sherlock Holmes game using the "In Her Majesty's Name" rules 

A familiar-looking fine four fendered friend!

Naturally, the day wouldn't have been complete without parting with some hard-earned cash, although unusually I went with a very limited shopping list and actually stuck to it. I picked up a copy of "In Her Majesty's Name" from Caliver Books, a copy of the new Crooked Dice "7th Voyage" rules courtesy of Ainsty Castings plus a couple of 7TV bits I was after, and finally another new game purchase - Dead Man's Hand hit the gaming table last week, and it's turned out to be a cracking game, so I took the opportunity to pick up a few Wild West lawmen of various sorts as my own 'gang' (but more on that some other time). 

As an added bonus for the day, myself and Gary were among the first 500 visitors, so we each received a free figure! This year's offering was Martin Schwarz, leader of the German mercenaries at the Battle of Stoke Fields 1487 (as the battlefield isn't far from Newark!)

~ ~ ~ 

Anyway, in other news, a lot has been going on which has put the blogging on the back burner for a while. I've actually got a build up of stuff I want to post about, but I've been spending what would be my blogging time doing actual hobby stuff (I know, I'm shocked too!) Once I've caught up with everything, I'll eventually get round to making a few posts. 

In the meantime, ciao!