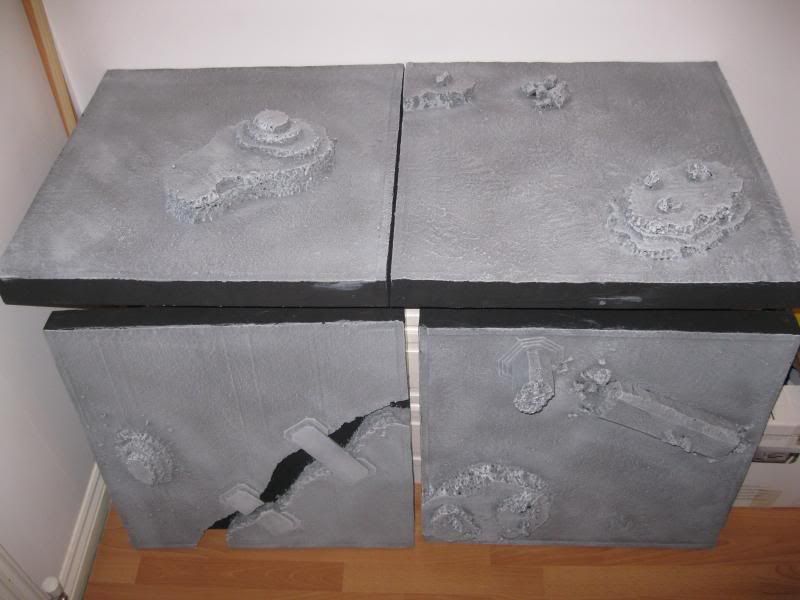
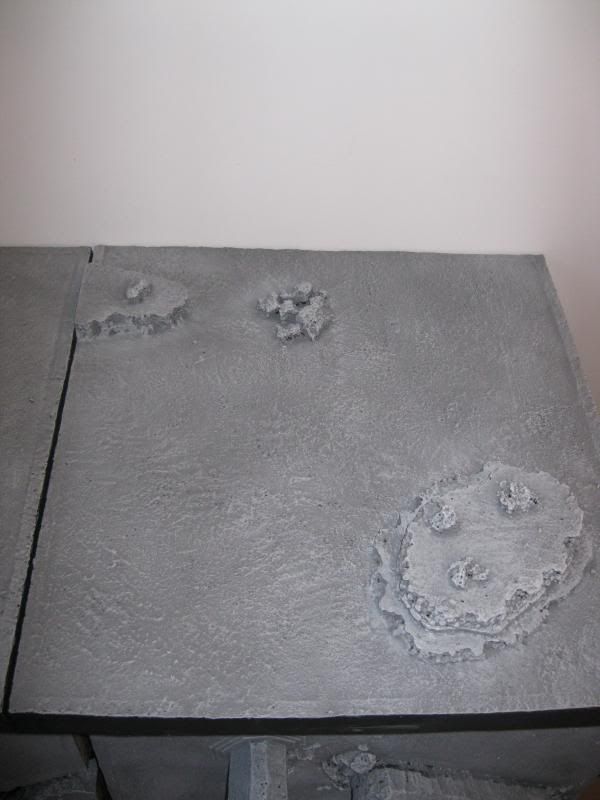
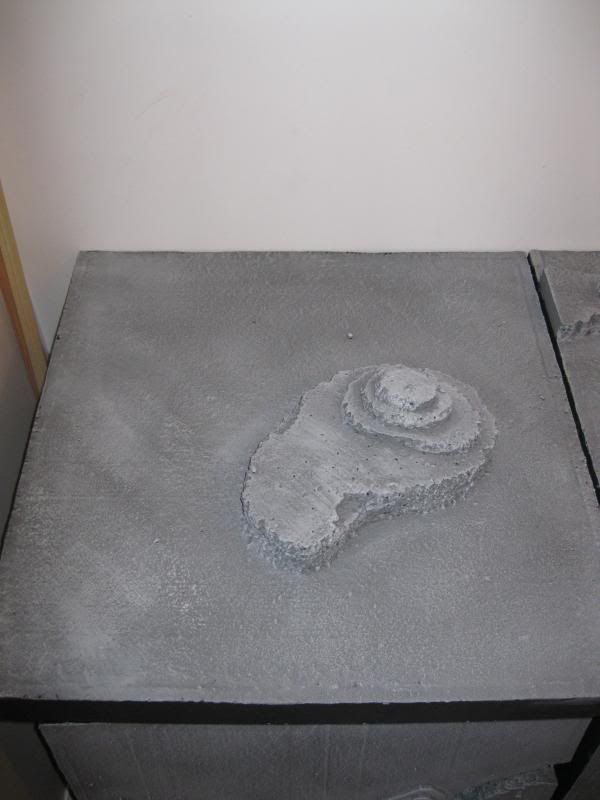
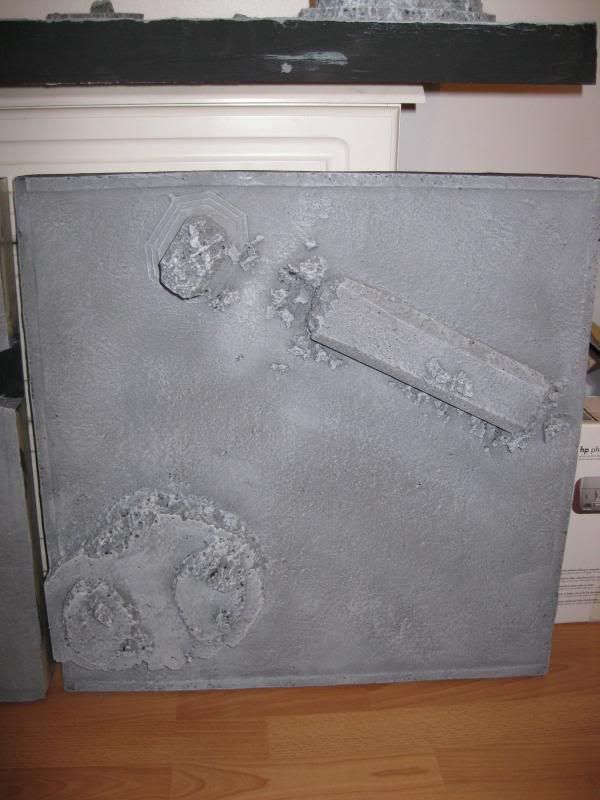
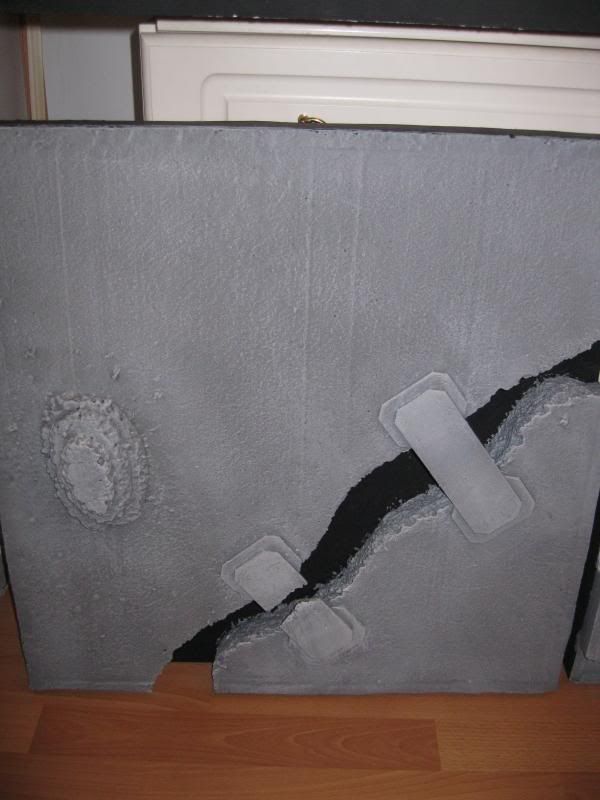
Just over six months after starting, work on the Moria boards is now more-or-less complete! Each of the boards has had a pretty heavy drybrush of light grey over the darker grey to bring out the texture of the base.
All that's really left to do is just tidy up a few bits around the edges where the grey has gone over the black borders.
But that's certainly not the end of the terrain-making adventures in Moria. With the boards in a playable state, I started looking for ideas for games to play with the boards. Reading through old White Dwarf magazines is something I like to do every now and again, and WD 322 contains a whole mini-campaign set in Moria - exactly what I was looking for!
My game boards weren't enough on their own though - several other bits of terrain would be necessary to pull this campaign off!
First up - the Walls of Moria!


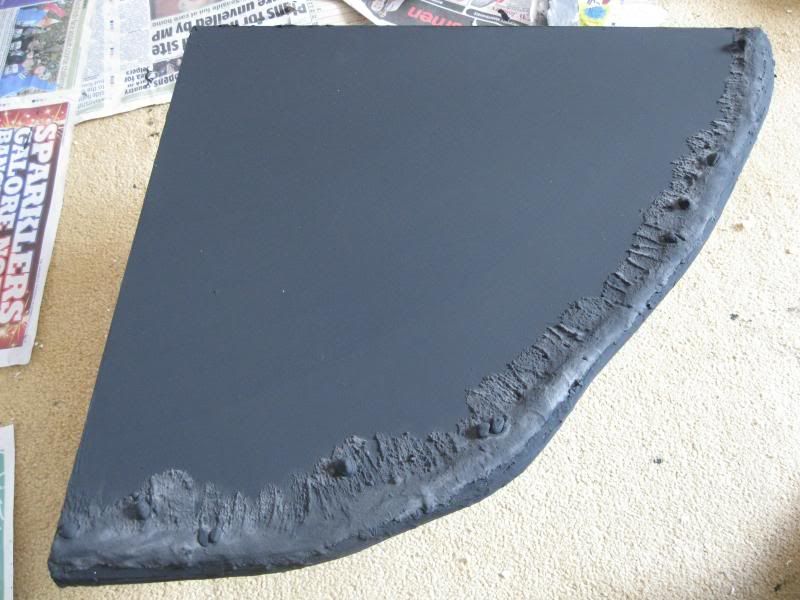
The cliffs are needed for a couple of the scenarios in the campaign to provide an exit/entrance into Moria itself. These were made in much the same way as the hills for the game boards themselves; several layers of polystyrene cut out, glued and pinned together with cocktail sticks. Where the hills used three or four layers though, the cliffs required twelve layers to build them up to a suitable height! Sand was glued to the top of the cliffs in the same way as the game boards and they've been undercoated with black paint. They'll receive the same treatment as the boards with the grey and drybrushing later. They've been constructed to sit nicely on the edges of two of the boards.
Next up, Kheled-zâram, the 'Mirrormere', was also required. Due to the size required for the lake and the specifics of the required table layout for this scenario, there was only one place I could put the lake - over the top of the bridges and chasm. Of course, that meant that the lake couldn't be flat to the board and it would need to be built up in several layers to raise the lake above the bridges.
In order to rise above the bridges, three layers of foamboard were needed. The first two layers have bridge-shaped cut outs in them, while the third layer is the one that is visible and would form the actual lake. It's designed to fit neatly into the corner of one board so two edges were left "level", while the curved edge was built up to form the banked edge of the lake. I happened to have some tile grout already mixed (I was supposed to be tiling a bathroom floor at the time...), so that's what I used to build up the bank but filler would have been my usual choice. A few small rocks were added while the grout was still wet, and once everything was dry it was all painted black as with the Walls. I'll paint up the bank in a similar fashion to the rest of the boards, but the lake itself will be painted as befits a water feature before I add water effects.
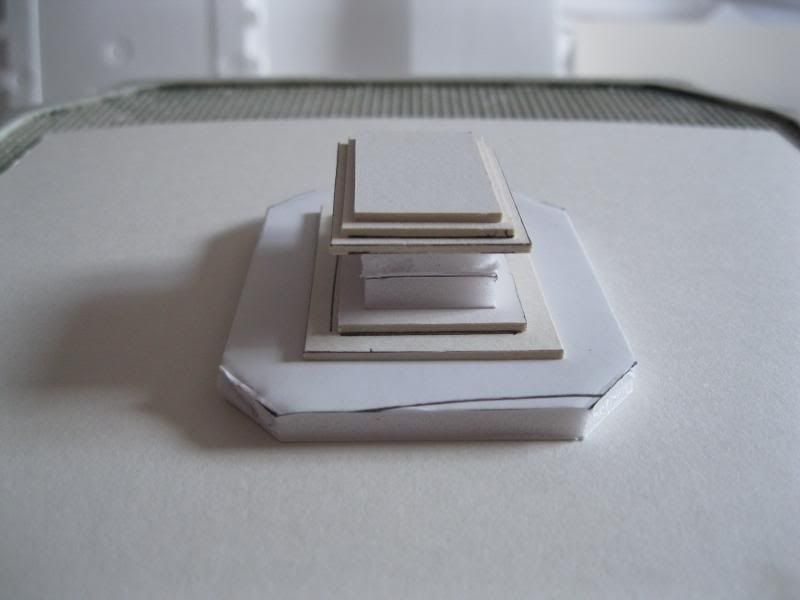
The next extra bit of terrain would be Balin's Tomb.

The base is simply two pieces of foamboard (I didn't actually have a single piece big enough, so I made it in two halves instead) with low walls built up with polystyrene around each edge, with a gap left for the entrance in one wall. The pillars are simply dense polystyrene between squares of card mounted on 20mm square bases at each end. The tomb itself is built up from foamboard and thick card to give the desired shape and dimensions
There's just one more terrain piece to make, but this one would require a lot more work than the rest. More on that in the next post!
No comments:
Post a Comment