After much ado then, here are the collected pics of the game we put on at Wargamer this year!
As mentioned previously we came up with a different scenario this time round, and used most of the existing terrain boards with only the addition of a couple of extra river sections. I apologise in advance for the poor lighting of the photos!
 |
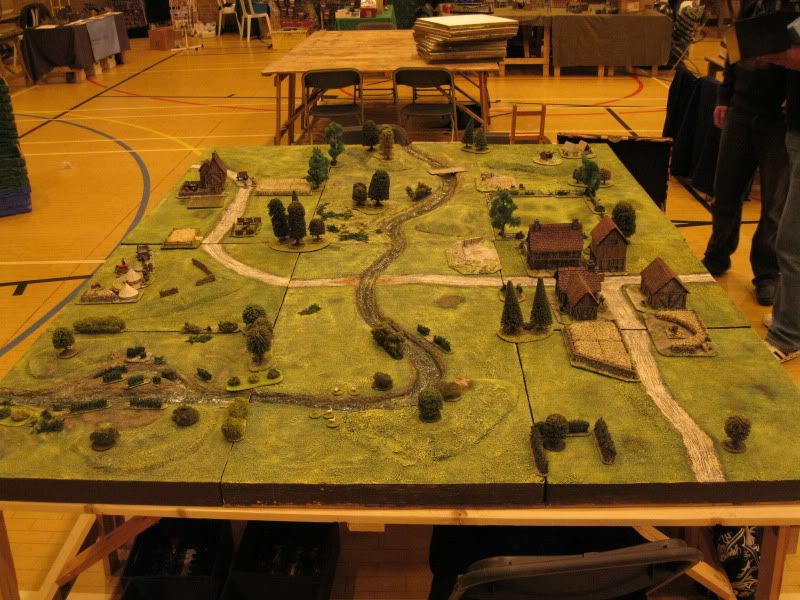
| The table viewed from the Swedish side |
 |
| From the Swedish left flank |
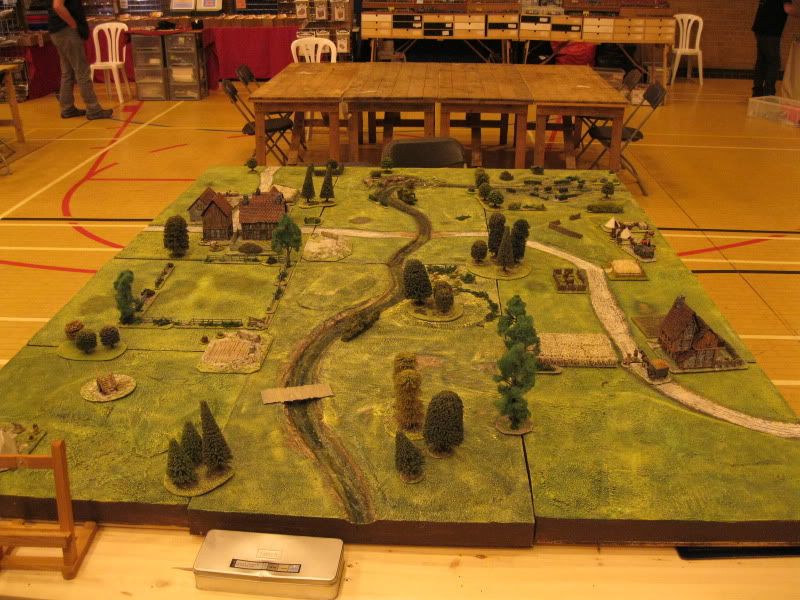 |
| And the Swedish right flank |
 |
| Finally, the view from the Imperial side (sort of...) |
The table was laid out as above, with the river obviously being the main feature. The objective for both sides was to force their way across the river, whilst preventing the opposition from doing the same. There were ostensibly two crossing points (the ford and the bridge) but a third 'secret' crossing point was also available for the Swedes via the marsh on the Imperial right flank.
We used the Black Powder rules from Warlord Games for the battle; it was only our third or fourth outing with them, so we were expecting a few mistakes along the way.
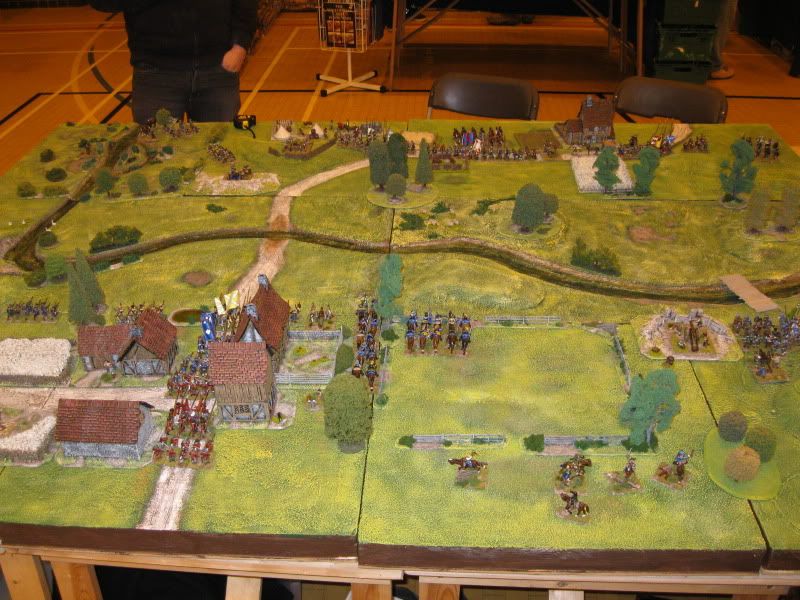 |
| The forces take up their positions |
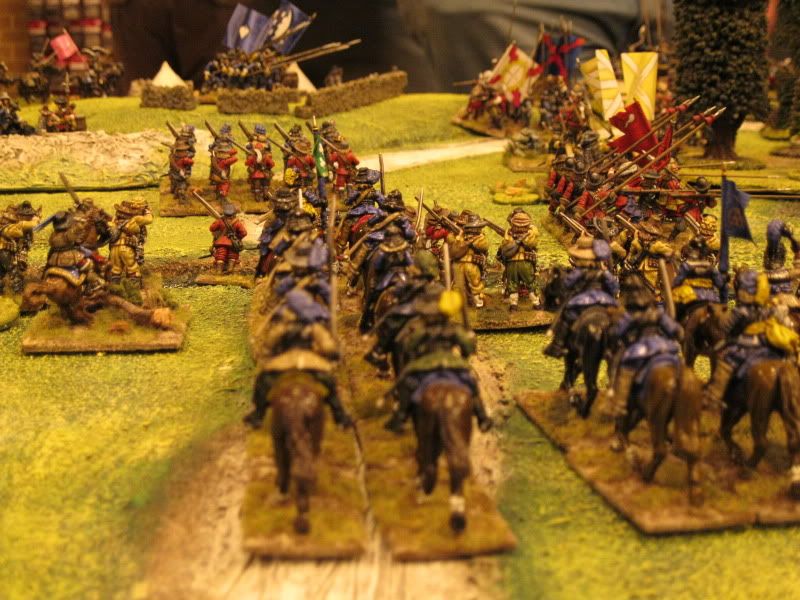
The game began with mixed fortunes for both sides; the Swedish cavalry got off to a flying start and began racing towards the marsh on the Swedish left flank. The Swedish infantry in the centre got off to a slow start as they made their way to the ford. The Swedish right, held by Hepburn's Scots and Schlammersdorf's regiment, didn't get off to a start at all as they failed their command roll.
The Imperials suffered even worse, managing only to move a single regiment in their first turn before the rest of the army was halted by a failed command roll.
 |
The Swedish cavalry brigade begin their charge down the left flank;
unbeknown to the Imperial commander, the marsh was in fact fordable |
 |
| Meanwhile, the Swedish infantry begin their (slow) advance to cross the ford |
Failed command rolls would become a regular feature as the game wore on; the advance of the Swedish infantry was incredibly slow, due in part to the pile-up of units, but also due to not rolling low enough to allow sufficient moves. If the Command rolls had been better, the Imperials would really have been in trouble! As it was, they had time to get a few units in position to contend the crossing, although they were plagued by poor Command rolls themselves.
Meanwhile, on the Swedish right, things were really stalling - Hepburn's Scots managed two turns of failed Command rolls and found themselves in the middle of the bridge, disordered and charged by Imperial cavalry. Needless to say, they were quickly routed. However, the Schlammersdorf regiment was there to take up the position vacated by the Scots.
 |
| The pile-up at the ford |
Finally, a breakthrough came at the ford as the Swedish Blue pikemen made a successful three-move charge across the river and into the Imperial musketeers guarding the crossing. They smashed the musketeers aside, but were then faced with a difficult choice; whether to fall back and hand the initiative to the Imperials, to stand still in the face of cannon fire and muskets, or to advance even further into Imperial lines unsupported. In the end they bravely (foolishly?) advanced as far as they could towards the cannon directly ahead of them, hoping to suffer few casualties before charging the following turn.
 |
View from the Swedish rear; you can just see the Swedish Blue pikemen
in the distance after their successful breakthrough |
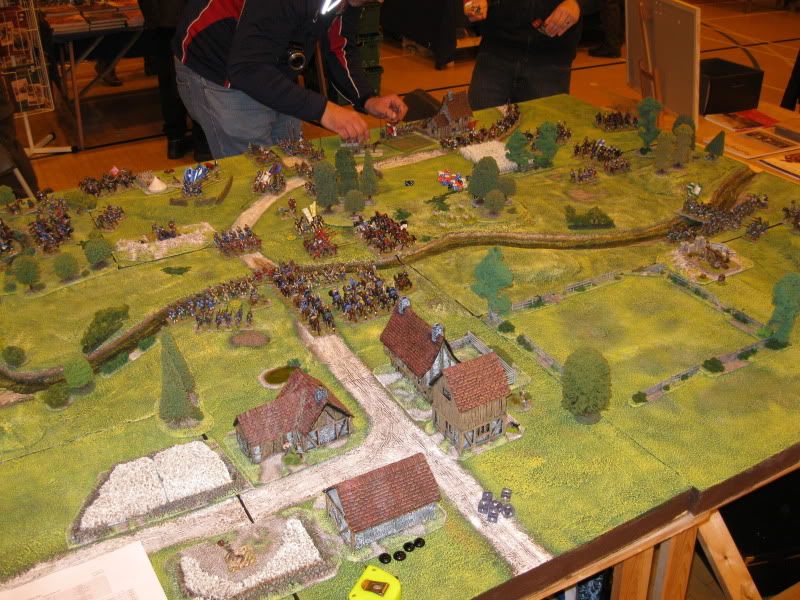
Luckily, the Swedish Blue's breakthrough proved to be the opening the Swedes needed. They were shortly followed by the Swedish Yellow and Red regiments and the Imperial lines began to crumble. Yet there was another twist of fate, as the Imperial reinforcements chose this moment to show up just in time to face off against the (slowly) rampaging Swedes.
 |
Finally, the Swedes get the majority of their force across the river,
just in time to join up with the flanking cavalry force |
Meanwhile, on the right flank, the ambitions of the Imperial cavalry were continually thwarted by the Schlammersdorf regiment. Finding themselves stuck on the bridge in much the same way as Hepburn's Scots (failing their Command roll four turns in a row!), they nevertheless managed to hold off repeated cavalry charges despite being out of formation and disordered.
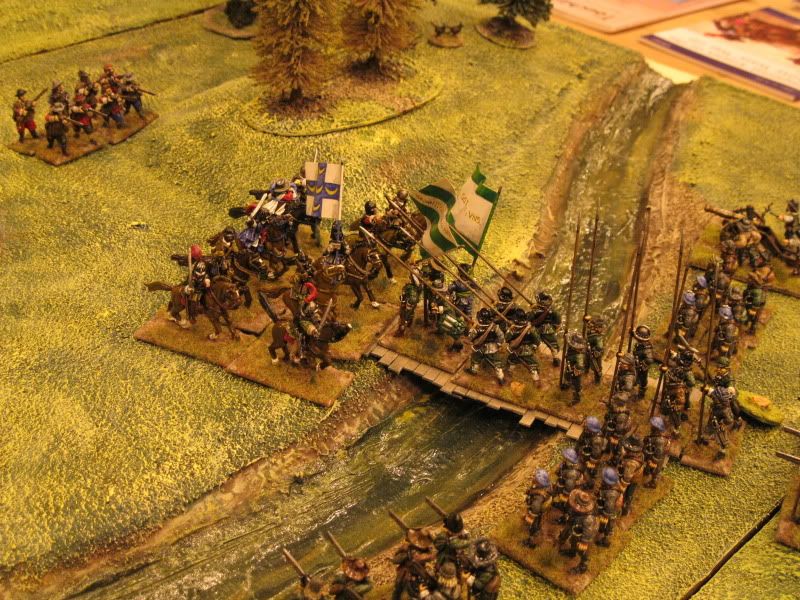 |
Meanwhile, on the Swedish right, the Schlammersdorf
regiment continue to frustrate the Imperial cavalry |
The battle continued for just a couple more turns, but it was clear that the Swedes had won a convincing victory. They had claimed two of the crossing points comprehensively, had denied the other to the Imperials, and in the end had broken two Imperial brigades for the cost of just two regiments of pikemen. Another Swedish victory!
Great looking game. Love those boards, tempted to have a go making some for myself but would struggle with storage place.
ReplyDeleteCheers Matt. If you can work out storage, I'd definitely give it a go. It's surprisingly easy to make the boards, and they do look good. It's always nice hearing the positive comments about the look of the games!
ReplyDelete